

10 Week Intermediate Throwing Course (Level 2)
Perfect for improvers | £600* per person | All materials & equipment included
Course Dates:
Tuesday 28th April 2026 - Tuesday 7th July 2026 | 6-9pm
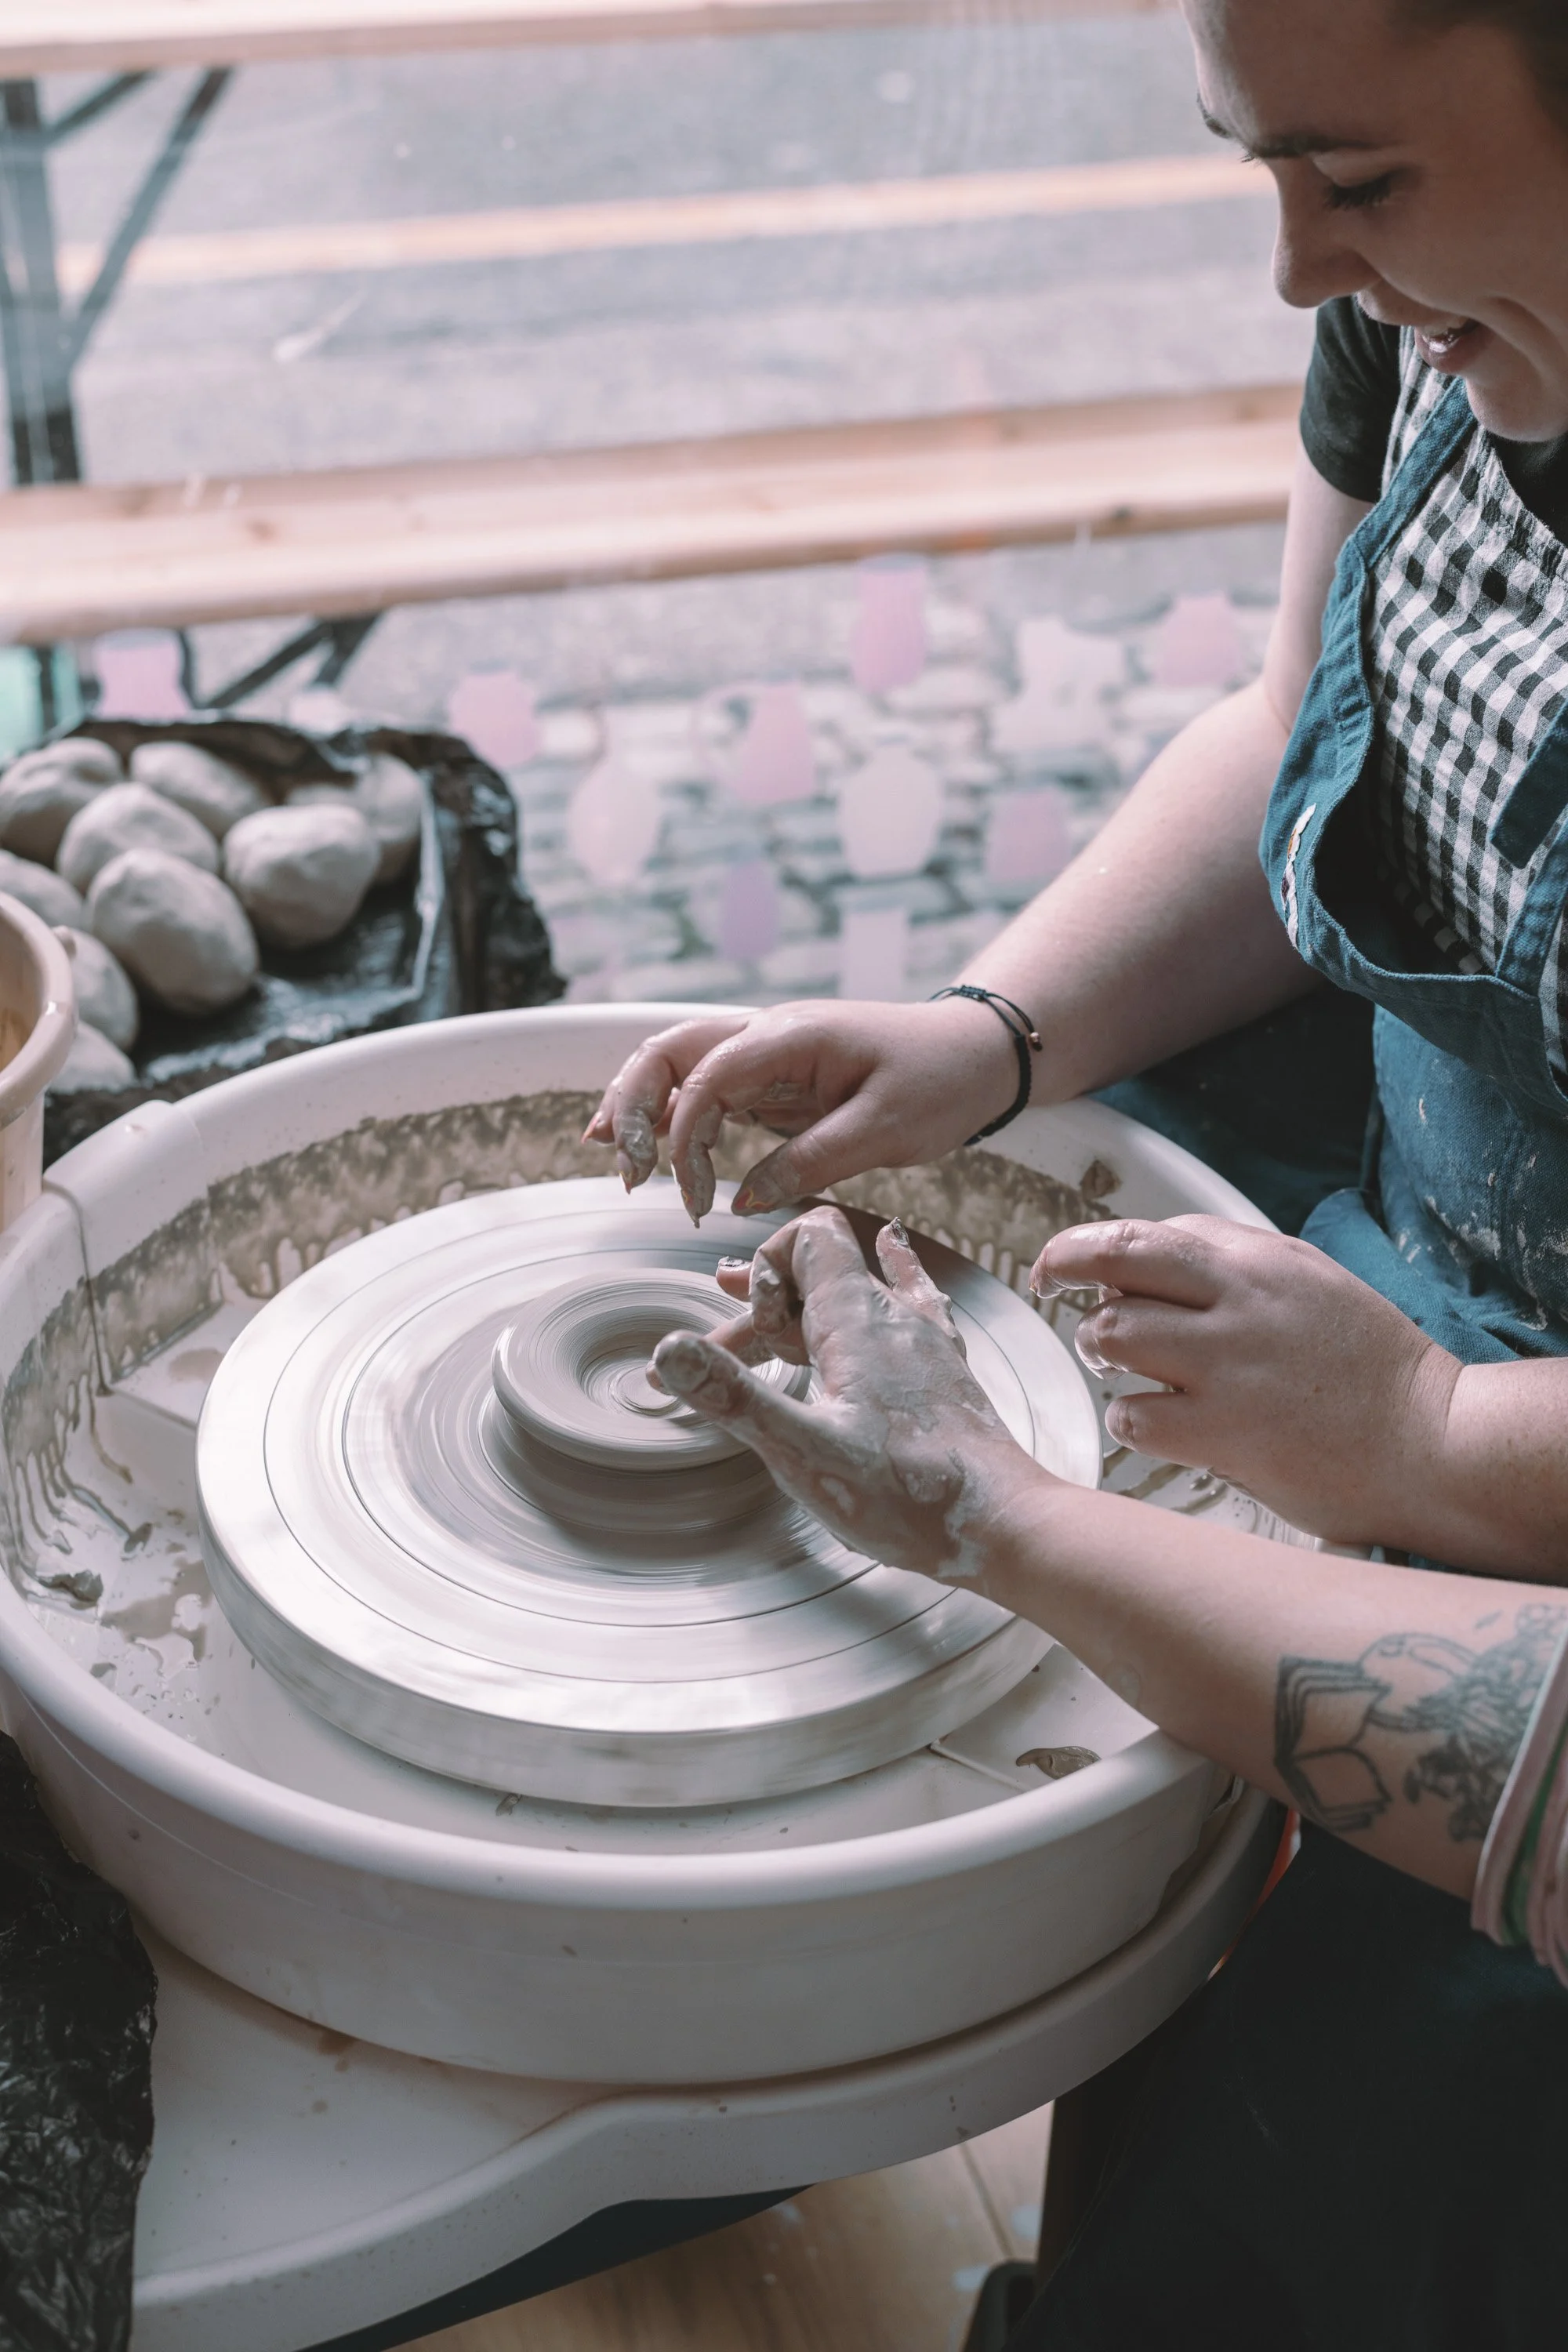
Our 10 week Level 2 Throwing Course is designed for those who have completed our 5 Week Throwing (beginners’) course (or have equivalent experience) and are confident centring and throwing simple forms.
This course builds on the foundations of wheel throwing to refine technique, improve consistency, and introduce more advanced forms such as plates, bottles, lidded jars, and teapots. You’ll also explore trimming, decorative surface techniques, and mid-course glazing to help you better understand the full ceramic process.
Each session follows a studio-based rhythm: trimming work from the previous week before new throwing projects. A reflective break mid-course allows time for firings, review, and regrouping before progressing to complex multi-part forms.
Please note: There is a scheduled break between Week 5 and Week 6, making the course 11 weeks in total. During this break, the studio will be closed. It’s a chance to pause, reflect on what you’ve learned so far and have tutor feedback.
What’s included?
All clay, tools, glazes equipment and firing costs.
Expert tuition in a relaxed, supportive environment.
The opportunity to create multiple unique pieces throughout the course.
PDF including all techniques and processes with a week by week breakdown
Week-by-Week Breakdown
Week 1: Consistency & Control
Revisiting throwing posture, centring, and pulling technique
Throwing repeat forms (matching bowls or cups) using calipers
Focusing on even wall thickness, rim definition, and height control
Slicing finished work to analyse cross-sections and wall uniformity
Week 2: Plates & Serving Ware
Throwing on batts for wide, flat forms and plates
Centring and controlling larger lumps of clay
Understanding compression to prevent S-cracks and warping
Managing drying stages for broad, shallow pieces
Week 3: Trimming Recap, Chuck Making & Surface Decoration
Trimming recap and trimming Week 2 plates
Exploring basic footring styles and balanced base design
Introduction to simple chuck making for supported trimming
Introduction to sgraffito and carved decoration on leather-hard clay using underglazes
(students can continue exploring these techniques throughout the course)
Week 4: Collaring & Controlled Forms
Trimming Week 3 work
Introduction to collaring techniques using moderate amounts of clay
Throwing gently necked forms such as bottles and simple vases
Developing control of wall tension and internal/external curves
Focus on stability, proportion, and controlled shaping
Week 5: Large Throwing
Trimming Week 4 work
Working with larger amounts of clay using collaring techniques
Exploring variations in shape (wider shoulders, altered necks, subtle form changes)
Encouraging personal experimentation while maintaining structural strength
Discussion around form, balance, and intentional design choices
Week 6: Reflection & Studio Break
No formal teaching | Studio closed
Tutor feedback, reflection, and planning for the second half of the course
Week 7: Mid-Course Glazing Session
Trimming Week 5 large pieces
Glazing bisque-fired work from the first half of the course
Testing glaze colours, finishes, and layering combinations
Understanding glaze behaviour, thickness, and firing cycles
Discussion: planning future surface decoration based on test results
Week 8: Lidded Forms Part 1: Precision Throwing
Throwing jar bodies and lids to fit
Measuring accurately for galleries and shrinkage allowance
Ensuring clean joins and consistent wall thickness
Focus on precision and controlled proportions
Week 9: Lidded Forms Part 2: Expanding & Structure
Trimming and refining lidded components
Improving lid fit, alignment, and proportion
Adjusting and correcting lids as part of the learning process
Exploring design while maintaining function
Week 10: Trimming & Assembling Lidded Jars
Trimming lidded forms from Week 9
Pulling and attaching handles, lugs, or simple spouts
Refining joins, proportions, and overall balance
Final adjustments to prepare work for glazing
Week 11: Glazing & Finishing
Glaze application using dipping, pouring, and brushing techniques
Managing glaze layering, thickness, and kiln placement
Final group review, photography of finished work, and reflection
Celebrate achievements and discuss next development steps
By the End of the Course
You’ll have:
Developed refined throwing, trimming, and joining skills
Created large, lidded, and multi-part functional ware
Gained experience glazing and testing surface finishes mid-course
Built a cohesive collection of finished, professional ceramics
Confidence to continue developing as an independent potter
Ready to Book?
Whether you’re looking to explore a new hobby, express your creativity, or simply have some fun, this course offers everything you need to start your pottery journey.
If you would like to pay in instalments, we offer payment through Klarna. Please give us an email at info@clayworkshop.co.uk telling us you’d like to pay in instalments, and we’ll send over a secure Stripe link so you can pay via Klarna.
We can’t wait to welcome you to Clay Workshop!
Please note: price includes 1.50% + £0.20 card processing fee.
*Prices include VAT